Centos7系统用nginx+PHP搭建可道云(kodexplorer) |
您所在的位置:网站首页 › 可道云 nginx未运行 › Centos7系统用nginx+PHP搭建可道云(kodexplorer) |
Centos7系统用nginx+PHP搭建可道云(kodexplorer)
|
先配置阿里云在线yum源 步骤一:备份1)进入/etc/yum.repos.d 查看目录下文件 [root@localhost yum.repos.d]# ll 总用量 28 -rw-r--r--. 1 root root 1664 8月 30 2017 CentOS-Base.repo.bak -rw-r--r--. 1 root root 1309 8月 30 2017 CentOS-CR.repo -rw-r--r--. 1 root root 649 8月 30 2017 CentOS-Debuginfo.repo.bak -rw-r--r--. 1 root root 314 8月 30 2017 CentOS-fasttrack.repo -rw-r--r--. 1 root root 563 3月 18 19:37 CentOS-Media.repo -rw-r--r--. 1 root root 1331 8月 30 2017 CentOS-Sources.repo -rw-r--r--. 1 root root 3830 8月 30 2017 CentOS-Vault.repo2)将所有文件备份到新建目录repo_bak下 [root@localhost yum.repos.d]# mkdir repo_bak [root@localhost yum.repos.d]# mv *.repo repo_bak/ 步骤二:下载阿里的CentOS-Base.repo 到/etc/yum.repos.d/ [root@localhost yum.repos.d]# wget -O /etc/yum.repos.d/CentOS-Base.repo http://mirrors.aliyun.com/repo/Centos-7.repo运行yum clean all 清除缓存,运行 yum makecache 生成新的缓存 [root@localhost yum.repos.d]# yum clean all #清空缓存 [root@localhost yum.repos.d]# yum makecache #生成新的缓存 #元数据缓已建立说明生成成功 步骤三:安装EPEL源 [root@localhost yum.repos.d]# yum install -y epel-release再次运行yum clean all 清除缓存,运行 yum makecache 生成新的缓存 开始配置先做一些前期的准备: 关闭防火墙,配置 SELINUX # 停止防火服务 [root@localhost ~]# systemctl stop firewalld # 查看防火墙的当前状态 [root@localhost ~]# systemctl status firewalld # 开机禁止启动防火墙 [root@localhost ~]# systemctl disable firewalld #重启后永久生效 [root@localhost ~]# vi /etc/selinux/config SELINUX=disabled #临时生效 [root@localhost ~]# setenforce 0 安装nginx yum install -y nginx # 查看版本 nginx -v #启动服务 systemctl start nginx安装完成后默认服务是启动状态,可以直接在浏览器中输入http://localhost 就能看到默认nginx首页
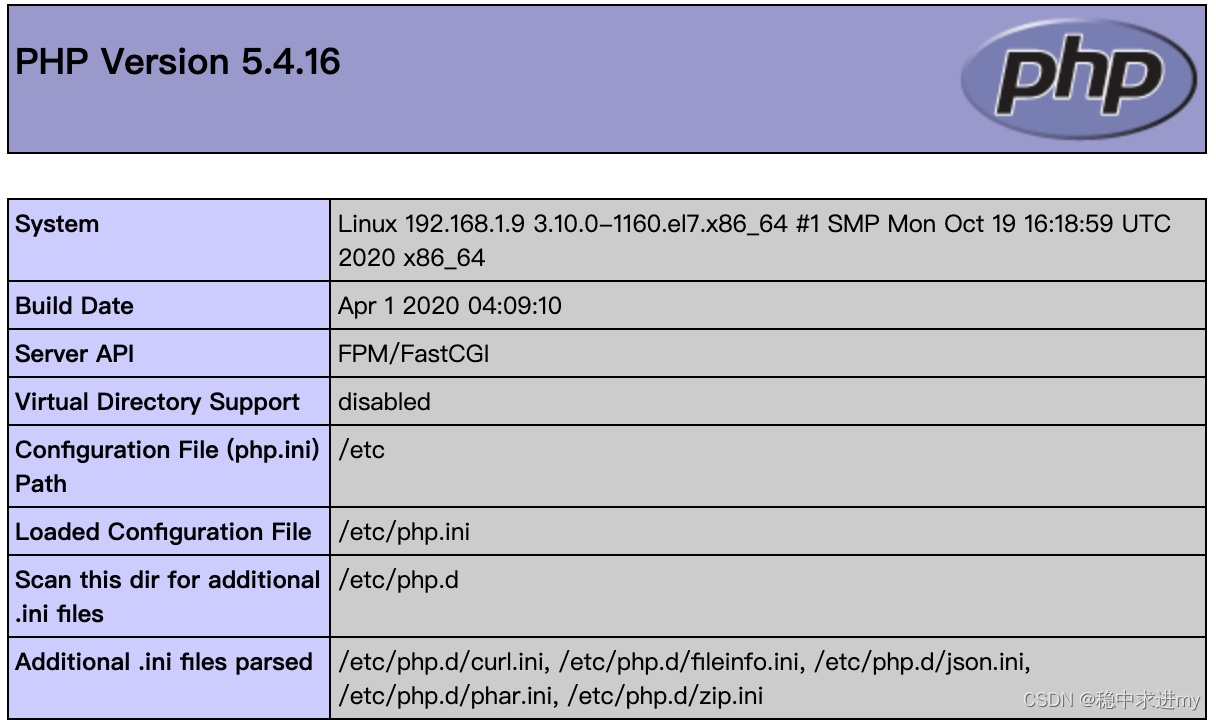
#安装 yum install -y php php-fpm #安装完成,查看版本 php -v 从nginx的配置文件/etc/nginx/nginx.conf中可以看到默认网页存储位置是/usr/share/nginx/html,在这个目录下新建一个text.php文件,里面只写入一行内容: 此时再次访问http://localhost/test.php, 并没有打开php相关信息的网页,而是直接下载了这个文件。此时还需要对nginx配置做一些调整 vim /etc/nginx/nginx.conf #在默认80端口的server节点中新增下面的内容,用于拦截.php结尾的请求,并把这种请求转发到php-fpm默认监听的9000端口 location / { try_files $uri $uri/ /index.php$is_args$args; } location ~ \.php$ { try_files $uri =404; include fastcgi.conf; fastcgi_pass 127.0.0.1:9000; } #然后启动php-fpm服务 systemctl start php-fpm #查看php-fpm状态,如下是正常启动 systemctl status php-fpm ● php-fpm.service - The PHP FastCGI Process Manager Loaded: loaded (/usr/lib/systemd/system/php-fpm.service; disabled; vendor preset: disabled) Active: active (running) since Fri 2021-09-24 23:52:32 CST; 1s ago Main PID: 10658 (php-fpm) Status: "Ready to handle connections" CGroup: /system.slice/php-fpm.service ├─10658 php-fpm: master process (/etc/php-fpm.conf) ├─10659 php-fpm: pool www ├─10660 php-fpm: pool www ├─10661 php-fpm: pool www ├─10662 php-fpm: pool www └─10663 php-fpm: pool www Sep 24 23:52:32 192.168.1.9 systemd[1]: Starting The PHP FastCGI Process Manager... Sep 24 23:52:32 192.168.1.9 systemd[1]: Started The PHP FastCGI Process Manager. #最后重新加载nginx的配置文件 systemctl restart nginx此时再次访问http://localhost/test.php 就会展示下面的网页
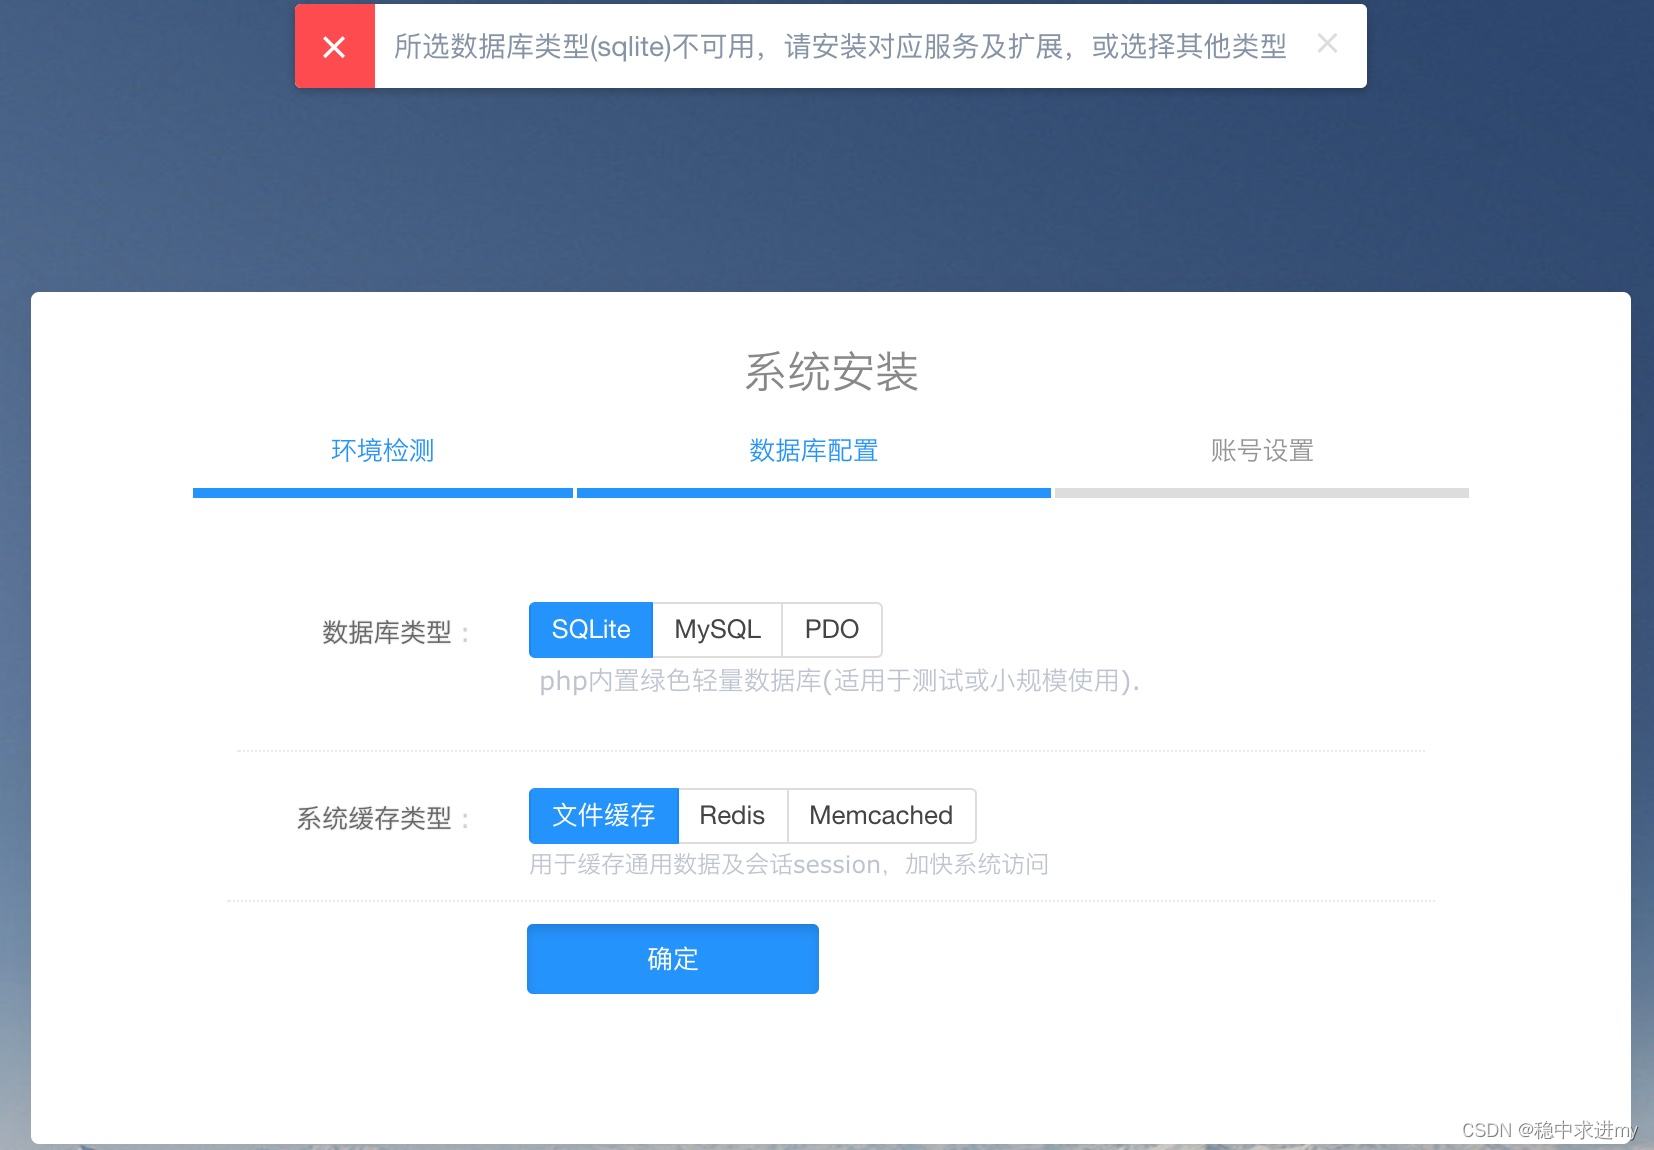
这里需要开启MB_STRING和gd扩展 yum install php-mbstring php-gd vim /etc/php.ini #在[PHP]节点下新增 extension=php_mbstring.so extension=/usr/lib64/php/modules/gd.so #重新启动php-fpm systemctl stop php-fpm systemctl start php-fpm此时刷新http://localhost 会出现kodexplorer登入页面
|
【本文地址】